Traefik on Docker Swarm
Traefik is an application load balancer written in Go and designed to simplify the task of serving HTTP(S) services whose configuration changes on the fly. Traefik v1.1.0 was recently released with support for Docker Swarm and it works excellently.
In this post, we'll go through how one sets up their Swarm cluster to automatically expose its services through Traefik.
Why use Traefik?
Unlike traditional reverse proxies, Traefik's configuration is ideally sourced directly from your service's configuration databases - with support for everything from ZooKeeper and Consort to Docker Swarm and Kubernetes' metadata. This enables Traefik to react almost instantaneously to changes in your service configurations, buying back valuable time on your SLA budget.
In addition to this: Traefik includes support for HTTP/2.0 out of the box, something I'm still waiting for HAProxy to support, and ACME support (which means LetsEncrypt without any effort).
Setting up your Swarm
First thing's first, we'll need to setup your Docker host to be running in Swarm mode. This is super-simple to accomplish, simply run the following if you haven't already.
docker swarm init
At this point, you should be able to run docker service ls without any errors.
Create a Network
You'll also want to create a network on which you'll advertise containers to Traefik. It's always a good idea to keep services like databases and caches off of this network, as Traefik will have the ability to access all the containers on this network, and you don't want to publish your DB by mistake.
docker network create --driver overlay http
You'll notice that we're using the overlay driver for this network. The overlay driver will create a virtual network between all of your swarm nodes and make it available to containers which are connected to this network.
Create the Traefik Service
Now for the juicy part, we're going to spin up the Traefik container on our Swarm cluster, giving it access to the /var/run/docker.sock socket so that it can access the Docker API and pull the information it needs to configure itself.
We'll also expose ports 80 and 8080, the http listener and Traefik's web dashboard respectively.
docker service create --name traefik `
    --network http `
    -p "80:80" `
    -p "8080:8080" `
    --mount "type=bind,source=/var/run/docker.sock,target=/var/run/docker.sock" `
    "traefik:v1.1.1" `
        --web `
        --docker `
        --docker.swarmmode `
        --docker.watch `
        --docker.domain=localhost
docker service create --name traefik \
    --network http \
    -p 80:80 \
    -p 8080:8080 \
    --mount "type=bind,source=/var/run/docker.sock,target=/var/run/docker.sock" \
    traefik:v1.1.1 \
        --web \
        --docker \
        --docker.swarmmode \
        --docker.watch \
        --docker.domain=localtest.me
You'll notice that we're passing a couple of command line options to Traefik here, specifically the following.
--webenables Traefik's web control panel (by default on port8080).--dockerenables the Docker configuration driver.--docker.swarmmodetells the Docker config driver to use Swarm mode services.--docker.watchinstructs the Docker driver to watch the Docker event stream for changes.--docker.domain=localtest.metells Traefik to publish services under<service-name>.localtest.mevhosts.
Create your Service
Now you'll want to spin up a container for us to play around with, let's use the excellent ehazlett/docker-demo container, which is perfect for this purpose.
docker service create --name demo `
    --network http `
    --label "traefik.port=8080" `
    ehazlett/docker-demo
docker service create --name demo \
    --network http \
    --label "traefik.port=8080" \
    ehazlett/docker-demo
Here we're telling Docker to run the service, connect it to the http network and set the traefik.port label, which Traefik will be looking for to determine how to connect to the container.
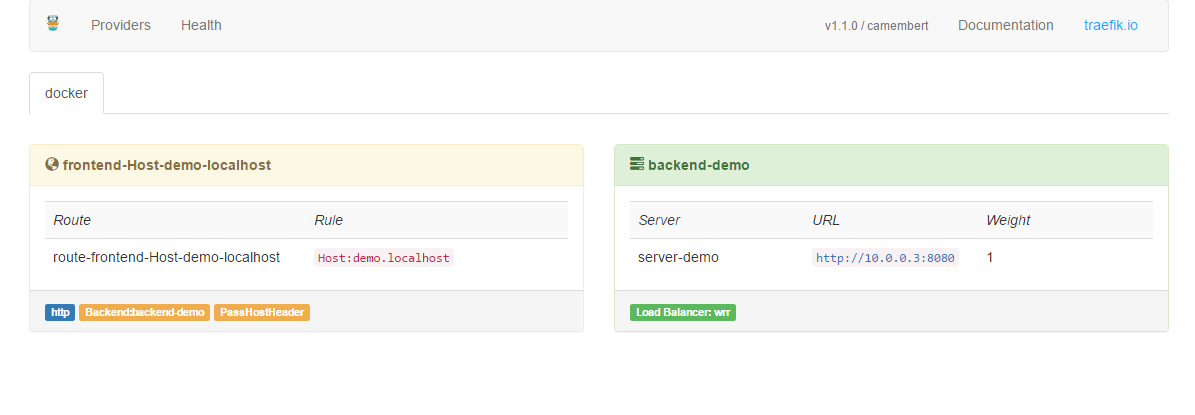
Check Traefik
Now that you've got everything set up, let's hop on over to the Traefik dashboard to confirm that everything is working correctly.
You should see something like the following:
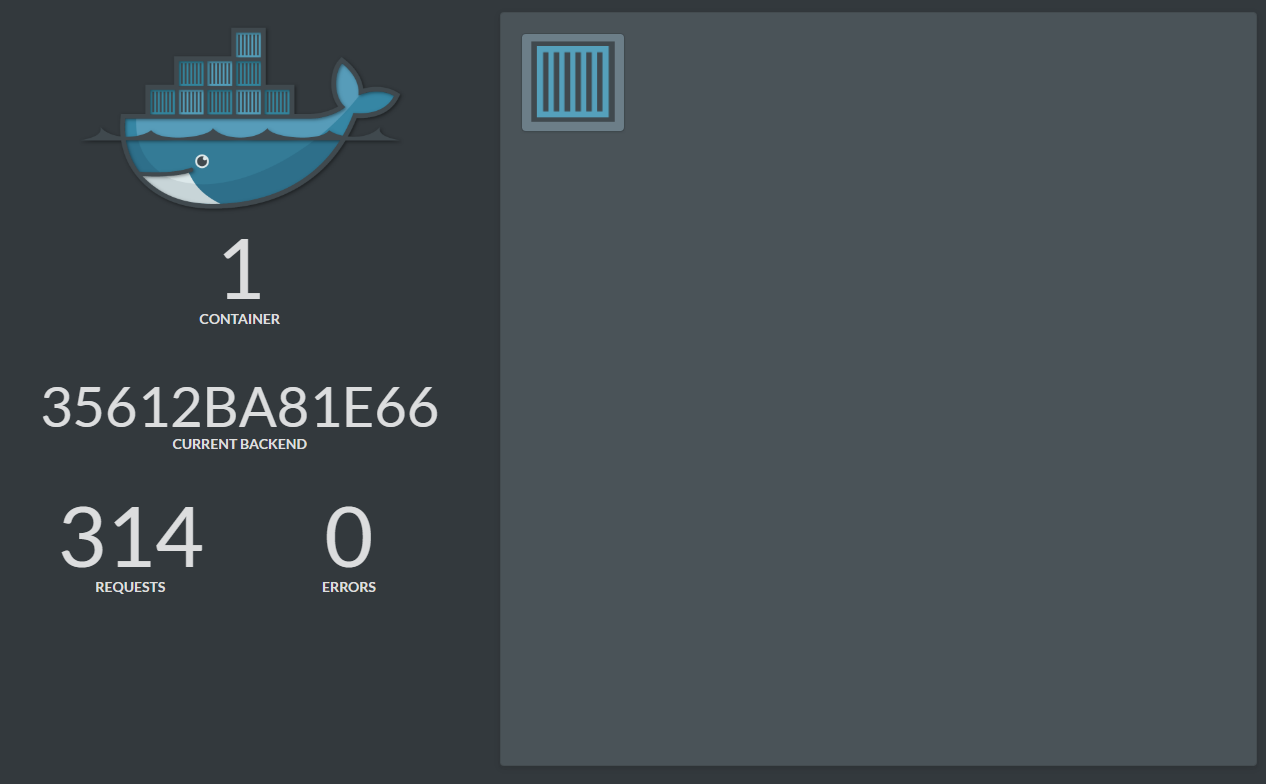
Check your Service
Great, now it's time to check that your service is available. We're using localtest.me to route requests to your local machine. All localtest.me does is resolve DNS to 127.0.0.1 - nice and simple.
You should see the demo application, something like this:
Retrospective
Although this post was somewhat long, there's actually not much going on at all - with all the magic happening in a total of 4 commands. This just goes to show how easily one can automate the traditionally menial task of configuring your load balancers.
If you have any questions about how this works, portions which weren't explained adequately, or suggestions for future posts - please don't hesitate to leave a comment below.